
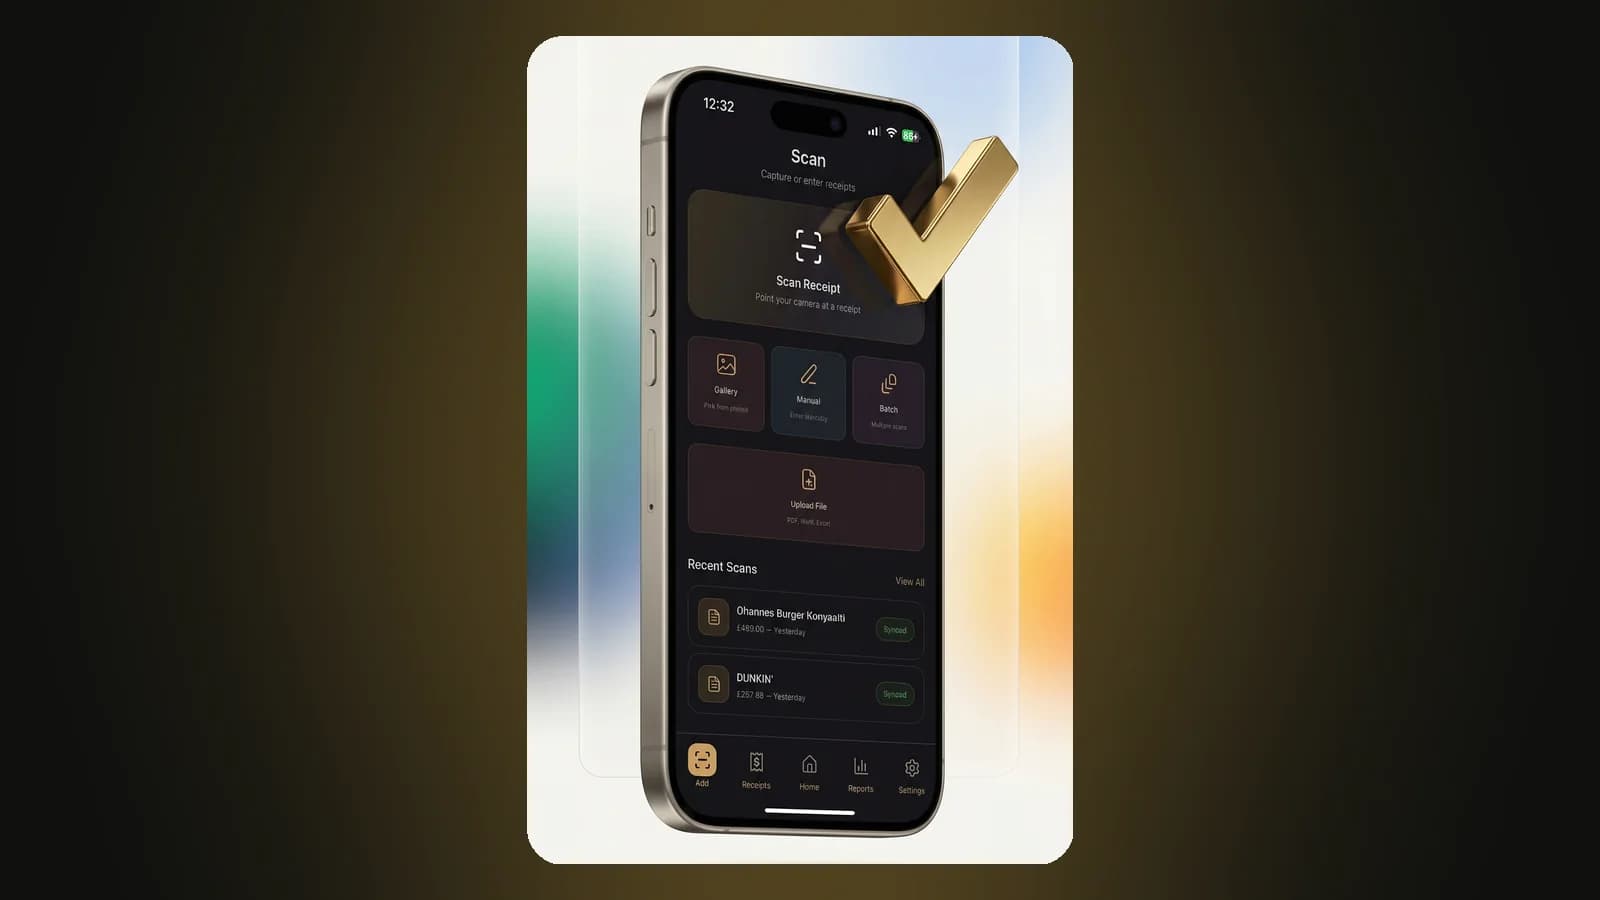
An AI receipt scanner saves you from typing, but it can only read what the camera sees. A few seconds of care at capture time is the difference between a clean record and a correction later. These seven habits work with any scanner, and they are exactly how we recommend using Expio.
1. Scan soon after you pay
Most shop receipts are printed on thermal paper, which fades with heat, light and friction. A receipt that is crisp today can be half-blank after a summer in a wallet or a car. Scanning at the checkout or the same evening captures it while every digit is still sharp — and once the image is saved, the paper's condition no longer matters.
2. Flatten it and give it contrast
Creases and curled edges bend the text and cast small shadows. Smooth the receipt with your hand and lay it on a flat, dark or plain surface: white paper on a dark table is ideal. Avoid patterned tablecloths or keyboards in the background.
3. Use even light, not glare
Daylight or a bright room works best. Hold the phone so its shadow doesn't fall across the paper, and tilt slightly if a lamp or the flash creates a shiny spot — glare can wipe out numbers entirely. In Expio's camera you can set the flash to auto, on or off.
4. Get the whole receipt in the frame
The merchant name at the top and the date, tax and total at the bottom are the details that matter most. Hold the phone parallel to the paper, fill the frame and keep all four edges visible. For a very long receipt, make sure the header and the totals are sharp and legible; if the store emailed you a copy, uploading that instead is even better.
5. Use the right input for the job
Not every receipt starts on paper:
- Camera for paper receipts in front of you.
- Gallery for a photo you already took.
- Upload file for PDF receipts from email or online orders.
- Batch when you have a stack: capture them one after another and review them in a row.
- Manual for expenses with no receipt at all, like rent or a cash payment.
6. Review before you save
AI extraction is fast, but it isn't infallible. Expio fills in the merchant, amount, date, tax and line items and then shows them to you in an editable form. Take five seconds to check the total and the date. When a scan is marked as low confidence, look a little closer — that flag exists so nothing slips through unnoticed. Also confirm the category: automatic categorization is usually right, and fixing it once keeps your reports accurate.
7. Keep the image with the expense
A number in a spreadsheet is only half a record. If you ever need to prove a purchase — for a reimbursement, a return, a warranty claim or your tax return — you need the receipt itself. In Expio, each receipt image is stored in the cloud next to its expense, so the evidence stays attached to the entry instead of living in a drawer.
A quick checklist
- Scan the same day
- Flat paper, plain background
- Even light, no glare
- All four edges in frame
- Check total, date and category before saving
Small habits, done every time, are what make scanning effortless. The first few scans take a moment of attention; after that it becomes a reflex — photo, glance, save.
Expio's free plan includes 15 AI receipt scans every month. Download Expio and try it on the receipts in your wallet.